If you’ve been on Pinterest or StumbleUpon lately, you’ll notice there are a variety of DIY articles dedicated to the upcycling of pallets.
Pallets are wooden platforms created to transport large, awkward, or heavy objects from one place to another. Oftentimes, they are tossed aside after several reuses because they are temporary structures and not meant for permanent transportation. So why not take a crack at a DIY pallet project of your own? Here at Price Self Storage, we have put together an instructional on making your own vertical garden.
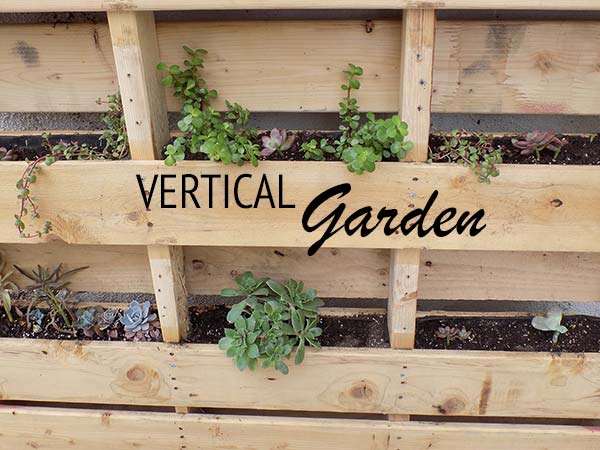
Tips for Creating Your Own Vertical Garden
Choosing a Pallet
There are a few safety pointers before you begin a major pallet project. Some pallets are pressure treated or contain formaldehyde so the wood can last longer without the possibility of decay or pest infestation. Avoid pallets with the initials “HT” (heat treated, possibly with toxic chemicals) or “MB” (fumigated with methyl bromide and often found on older pallets) near the IPPC logo found on most pallets. Also, avoid places like gardening centers where plants may have been sprayed with chemicals or pesticides.
If you aren’t sure if the pallet is safe to use, clean the pallet and paint a couple of clear coats to seal in any possible contaminants, or move on to another pallet you know is safe.
Project Materials
1 Pallet
12 plants (minimum)
1 roll of landscape fabric
1 staple gun
1 pack of 8 mm staples
1 cordless drill
1 pack of wood screws (1.5 inches long and narrow to avoid splitting wood)
1 pair of goggles
1 pair of gloves
1 pallet buster, crowbar, or the back end of the hammer to pull off wooden planks
1 package of raised bed and potting mix
Step by Step Instructional
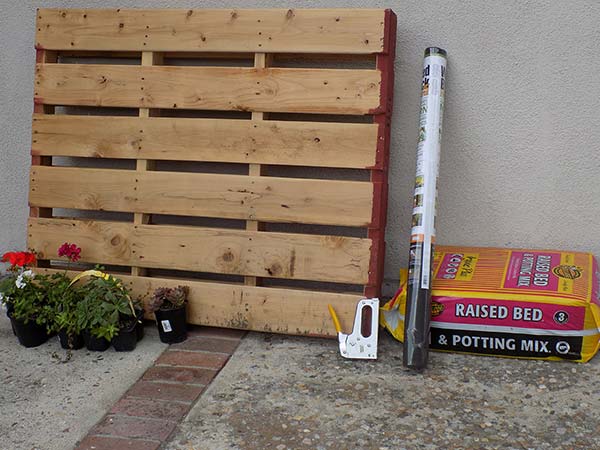
Step 1: Lay out the materials in front of you, making sure you have everything you need.
Step 2: We used a two-way entry reversible pallet with three spaces (for more help on knowing what kind of pallet you have, check out this infographic). Pull off the second and fourth boards on one side only.
Step 3: Each place you see a group of nails, add another screw into the wood for support. Make sure that the screw is far enough from the other nails where they won’t collide yet parallel so it connects to the support plank.
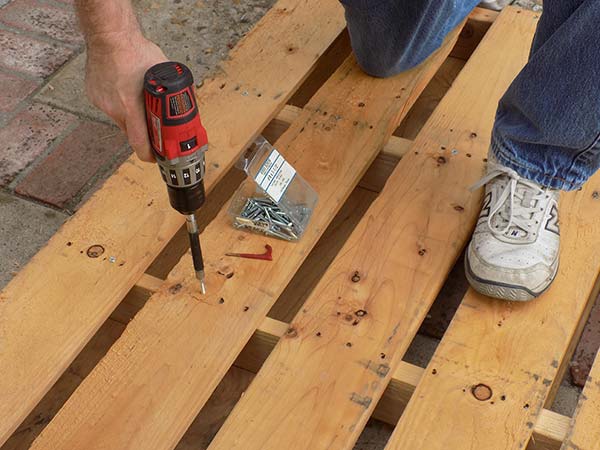
Note: If you are concerned about cracking wood, drill holes before you place the screws.
Step 4: Measure the section of the pallet where the plants will be and add 2-3 inches. Use the new measurement to cut the width of the landscape fabric. For the length, it depends on the depth of the plant. To avoid the bottom of the fabric from peeking out, some adjustments may need to be made once you are placing the landscape fabric in the pallet. Simply roll up the sides of the fabric for the adjustment.
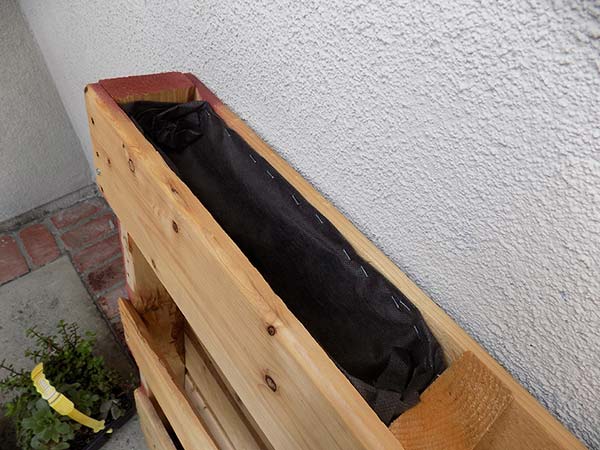
Note: Double or triple up the landscape fabric before stapling it to the wood. This prevents significant water loss.
Step 5: Place staples an inch and a half apart as you’re stapling the landscape fabric in the inner part of each pallet section. Remember this doesn’t have to look pretty as it’s going to be hidden underneath dirt and plants.
Note: Automatic stapler guns are easier than manual stapler guns on the upper body.
Step 6: Place desired plants in each pouch you’ve created and adjust while filling the dirt. Don’t pack the dirt too much; in this case, a loose pat is fine.
Note: Succulents are a great option for this project as many can be split up from a bunch and regenerated as a new plant. Plus, it means less watering.
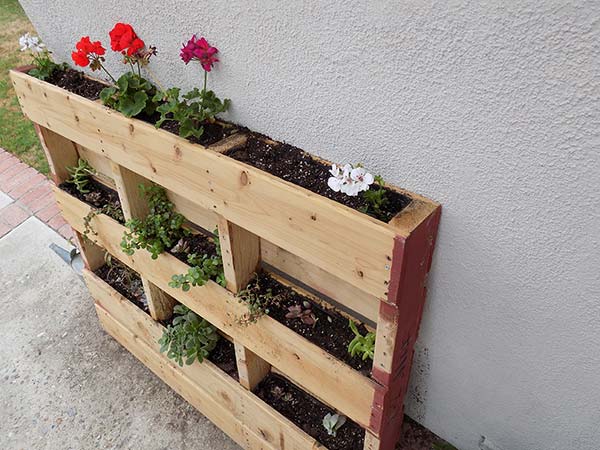
Step 7: Once everything is in place, sweep away the excess dirt, water each plant, and enjoy.
After You’re Done
The vertical garden comes out beautifully and is a nice touch to any backyard. This project takes about two hours to complete and is relatively inexpensive based on access to materials. Sanding and painting the pallet a nice color is optional, but for a rustic look keep it as is.
There are plenty of pallet project ideas for every area of the home, and all depends on what you have on hand. What are some of your ideas? Share and comment with your project ideas below.


